Last month, my relationship with netflix officially ended.

More precisely, my family’s relationship with netflix (off which I was comfortably mooching) changed, ending 8 years of a great thing. Towards the end, I’ll admit I was becoming less satisfied with the extents of netflix’s library, and a sort of fatigue was setting in where I’d have to ping-pong between different streaming platforms to find the titles I wanted. If this sounds like a retrospective “Fine, I never liked you anyway”, I’ll admit, you’re right; but nonetheless, this was the final kick I needed to start looking into some more sustainable alternatives to streaming services as a whole.
In this article, I’ll go through the steps I took in setting up my home media server, and give solutions to the roadblocks I faced.
Table of Contents
1. Overview
1.1 Disclaimer
Piracy is a crime. Hilariously, the producers of that ad didn’t have the rights to the music they used.
Throughout this article, the terms media and media library will henceforth refer to the legal downloading and storage of linux .iso files. This is to make it absolutely clear, that media does not refer to movies, tv series, and the like.
1.2 Value Proposition
 You receive:
- Unbounded access to any media your heart desires.
- You can view this media through any client on your local network, unaffected by ISP network maintenance (which happens more than I’d like in Australia.)
- No subscriptions or the fatigue that comes with them.
You offer:
- One day of configuration
- The cost of a basic server rig. I picked up a Dell Optiplex 7040 with 8GB DDR4 RAM and 1TB Storage for $150 AUD.
- The increased cost of electricity.
1.3 Requirements
For this guide, basic competency with *nix systems and the commandline is assumed. It is likely you will encounter your own unique set of roadblocks during installation, and you must be willing to fix these on your own.
1.4 Tech Stack
- Fedora 38: A solid, linux operating system.
- Docker: Run containerized applications on your OS.
- Jellyfin: Media server/client for your local network.
- qbittorrent: Torrent client for downloading media files.
- The Starr stack (*arr): Sources and coordinates torrents with qbittorrent.
- Docker: Run containerized applications on your OS.
Among alternatives, the main idealogical factor here was choosing open source software. You could, for example, skip the linux installation and use windows 10 for your operating system. In this specific example I’d argue the effect would be like sucking soup through a paper straw.
I should note that Plex is touted as a common alternative to Jellyfin. Plex has prebuilt clients for a large number of devices, at the downside that you have to sign up for an account with them, and it’s not OSS. That was a no from me.
2. Hardware
In this section, we’ll reformat the optiplex, install linux on it, and then assign it a static local ip adress from the router.
2.1 Preparing the Optiplex
It’s BIOS time baby. Boot that machine up and spam F11 and F12, because I can
never remember which one’s which. We want to get to the BIOS options menu, so
we can:
- a: Make sure the Optiplex accepts the live linux image.
- b: Configure its behaviour to reboot after power loss.
- c: Tell the computer to never sleep.
- d: Perform a data wipe to silence the paranoid, neurotic demon on your shoulder.
A key resource for me here was this video by Phillip Yip, showing from scratch how he installs Ubuntu on the same machine. He covers points, a and d above. The other steps can be achieved from the Power Management tab in the BIOS settings.
If you’ve followed these steps so far, you’ll likely be seeing this gorgeous interface:
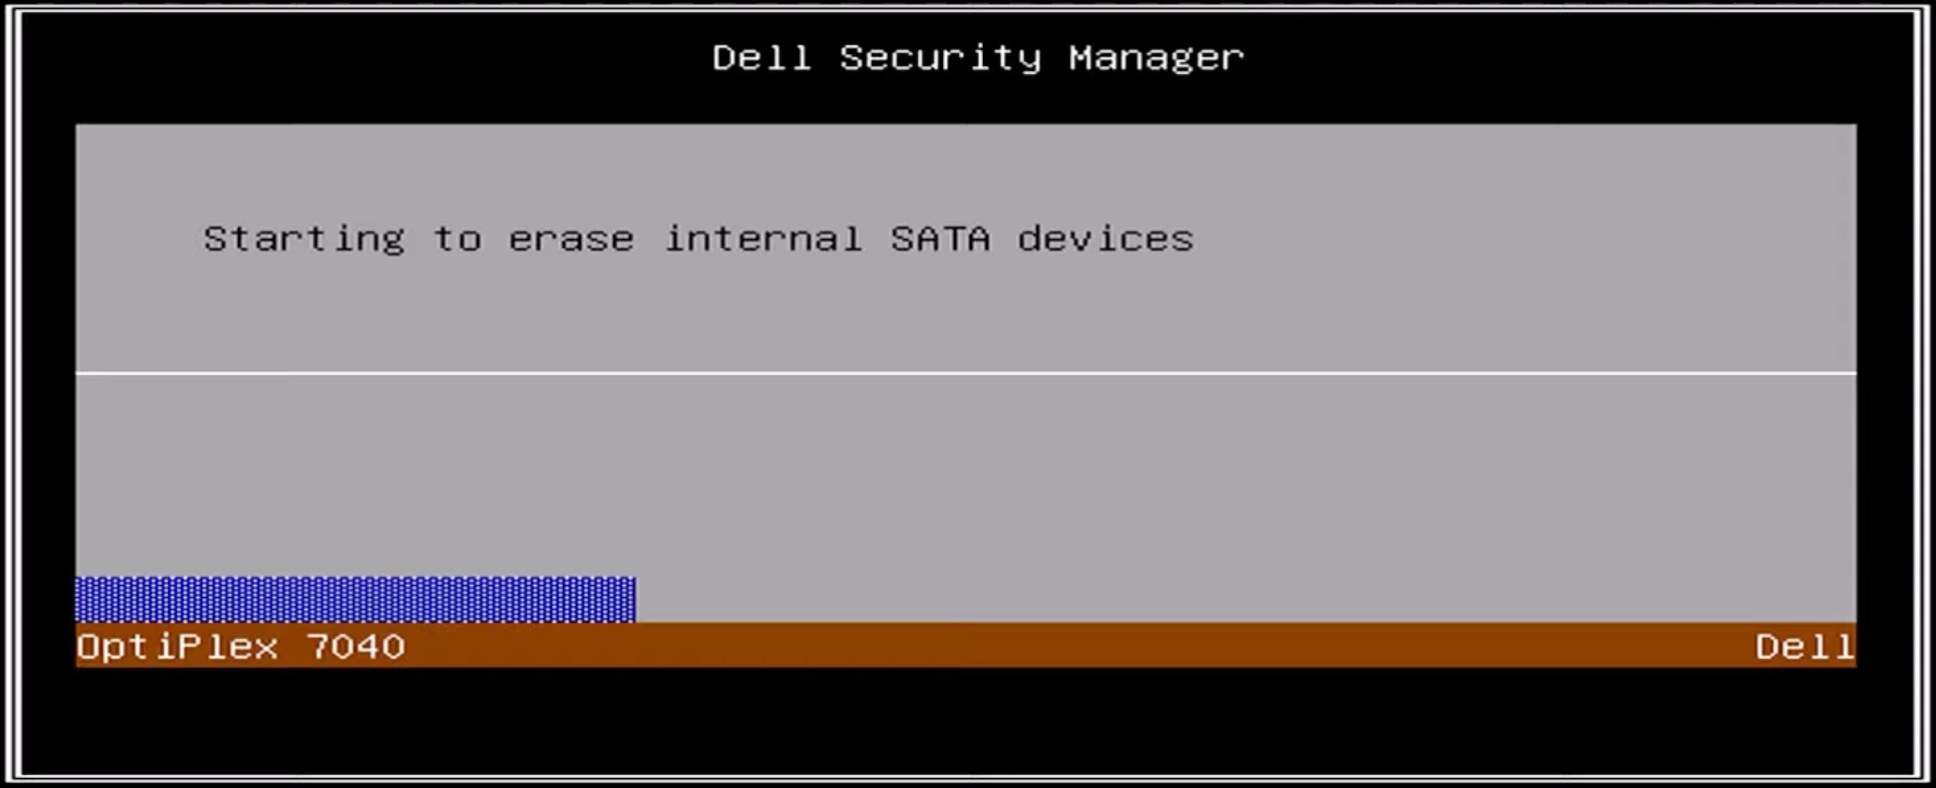
Do not, I repeat, do not believe the lies of the blue progress bar. I intently watched it fill up, only for it to start over again. If you don’t have an NVME drive, like me, this step can take a couple hours; so in the meantime, let’s get Fedora.
2.2 Preparing and installing linux.
The most important thing I can do at this stage is warn you not to follow in my footsteps.
The Dell Optiplex will only see/boot from USB 3.0 Flash Drives!!
I initially misread this and thought it meant to make sure to plug the usb into a USB 3.0 slot on the back of the machine. Consequently, I wasted ~4 hours scratching my head and having heartfelt conversations with the machine, begging it to work.
Now that’s out of the way, download and flash Fedora
to your usb. The second time, I used Fedora Media Writer to do this
from my mac, and would strongly recommend this. You could also use dd, or rufus,
if these are available to you.
After you’re done, here are some ideas for fun tasks to occupy you instead of watching that blue progress bar:
- Learn a foreign language.
- Read TAOCP in entirety.
- Take up the nose flute.
Finally, insert the USB, reboot the computer, and boot from the USB.
Go through the comfy graphical installation process for Fedora. The only thing of note here was that I deleted all existing partitions and let the installer automatically do the allocations, but you do you. When done, remove that usb and reboot from your new OS.
2.3 Router Configuration
Here the most important step is to give your new machine a static ip address, or else you might one day wakeup with none of your services pointing to the right places. First on linux, bring up a terminal and type:
ifconfig -a
From the results, find your local ip.
The next steps change drastically based on your router, but:
- Open up your router settings in a browser.
- Find your way to the DHCP settings.
- Find the MAC address associated with your machine’s local ip address.
- Make that binding static.
As an additional step, if you can, I’d set your upstream DNS to not point to your ISP’s servers. I just tried to do this with a Telstra router, and I was absolutely shocked that they lock this option down. If this is the case with you as well, I’d look up how to just change the DNS server for the fedora machine instead of the entire network.
Some common DNS options here:
- Google DNS -
8.8.8.8, 8.8.4.4 - CloudFlare DNS -
1.1.1.1, 1.0.0.1
3. Software
Now that we have our machine up and running, things get a little more
interesting. We’re going to set up a series of docker containers with
docker-compose, which are going to communicate with eachother via the local
network, download media from the web, and store and organise files on disk.
Similar to the rest of the guide, I won’t be providing step by step instructions, and will instead link material which explains how to do everything in much better detail than I can muster in a brief article.
3.1 Why docker?
You can absolutely install each of these programs manually instead of through containers, so why use docker?
I’d argue that the main points here are security and ease of use. Using containers, we can isolate each application from the rest of the computer, and eachother. We can give each application least responsibility by only allowing access to the directories that we choose them to. In effect, we drastically reduce the possibilities of what can go wrong in our system.
The other point is that docker makes the composing and maintenance of these
applications incredibly easy. Want an entirely new application to interop with
the rest? Just add a few lines to your docker-compose file and restart.
A nice view of your processes? docker stats.
I also want to configure only as much as I need for a given result,
and docker allows me to do just that.
3.2 Installing Docker
The only links you need for this step are here and here.
By the end of the installation process, you should have:
- Docker and docker compose installed.
- A new
dockergroup, which$USERis added to. This allows you to run docker commands withoutsudo. - The docker service should start automatically on boot with systemd.
3.3 The Best Docker setup.
Here I think you should spend a bit of time reading this amazing resource from wiki.servarr.com. This wiki has a tonne of useful configuration and troubleshooting guides for all of the services we’re about to set up, so I’d bookmark and come back to it after you’ve read that initial link. The other really helpful resource at this stage is trash guides.
Based off the listed guides, here is the setup I ended up using:
- Created a new user group (
media) for all the applications. - Created new users for each of the applications, and added them to the
mediagroup. (Added $USER as well) - Created my root data folder at
/data. - Gave the data folder
root:mediaownership withchown. - Changed folder permissions as per the guides with
chmod. - Inside the
/datafolder, used a structure very similar to this, but with an extra folder:/data/configfor application configuration files.
It goes without saying, but I will say it anyway- the directory structure I used is necessary for my provided docker compose file to work. Don’t @ me if you try to use it with a different setup and it bites you in the ass.
3.4 My docker compose file.
To really see what I mean by how easy it was to use all these applications together- take a look at how small my docker compose is:
Click to expand my docker-compose.yaml.
version: "3.7"

services:
    Sonarr:
        container_name: Sonarr
        restart: unless-stopped
        image: cr.hotio.dev/hotio/sonarr
        ports:
            - "8989:8989"
        volumes:
            - /data/config/sonarr:/config
            - /data:/data
        environment:
            - PUID=1111 # Application user id setup in previous step
            - PGID=1002 # Media group id
            - UMASK=002
            - TZ=Australia/Brisbane # Obviously replace this.

    Radarr:
        container_name: radarr
        restart: unless-stopped
        image: cr.hotio.dev/hotio/radarr
        ports:
            - "7878:7878"
        volumes:
            - /data/config/radarr:/config
            - /data:/data
        environment:
            - PUID=1112
            - PGID=1002
            - UMASK=002
            - TZ=Australia/Brisbane

    Prowlarr:
        container_name: prowlarr
        restart: unless-stopped
        image: cr.hotio.dev/hotio/prowlarr
        ports:
            - "9696:9696"
        volumes:
            - /data/config/prowlarr:/config
        environment:
            - PUID=1113
            - PGID=1002
            - UMASK=002
            - TZ=Australia/Brisbane

    Jellyfin:
        container_name: jellyfin
        restart: unless-stopped
        image: cr.hotio.dev/hotio/jellyfin
        ports:
            - "8096:8096"
        volumes:
            - /data/config/jellyfin:/config
            - /data/media:/data/media
        environment:
            - PUID=1114
            - PGID=1002
            - UMASK=002
            - TZ=Australia/Brisbane

    QBitTorrent:
        container_name: qbittorrent
        restart: unless-stopped
        image: cr.hotio.dev/hotio/qbittorrent
        ports:
            - "8080:8080"
        volumes:
            - /data/config/qbittorrent:/config
            - /data/torrents:/data/torrents
        environment:
            - PUID=1115
            - PGID=1002
            - UMASK=002
            - TZ=Australia/Brisbane
3.5 Running the docker services
Ready for the magic? Navigate to wherever you made that docker-compose.yaml
file, and enter:
docker compose up -d
 It’s alive! Also, whenever your computer restarts, these services should as well.
3.6 Configuring the services
Here’s where we return to the servarr wiki and trash guides. We need to do some basic setup for each of the services we’ve just started.
To access any of these applications, go to the local ip address you found in step 2.4,
suffixed with the application port, e.g. if your local ip was 192.168.0.1 and
you wanted to access Prowlarr, you would open a web browser and go to
192.168.0.1:9696, since in the docker compose file we set 9696 to be Prowlarr’s
port.
Each of the services (apart from jellyfin) has a corresponding set of pages for configuration on servarr or in trash-guides, that you should follow.
As for recommended order, I would go:
- qbittorrent: trash-guides link
- prowlarr: servarr quick-start
- sonarr: servarr quick-start
- radarr: servarr quick-start
- jellyfin: I couldn’t find links in servarr or trash-guides. It’s a pretty chill setup, so if needed, I’d go through with a youtube video like this, but ignoring plugins at this stage until you’re familiar with jellyfin.
At this stage, you should be completely ready to go! The servarr wiki has guides on how to use the individual services. Welcome aboard me-hearty!
3.7 Jellyfin clients
To actually watch the media you’ve just setup all these processes for, you can either go to the jellyfin server ip on any device in your local network, or find a client for the specific device you’re on. I find for my computers I just visit the ip addresss, but for TV, I wanted a native client, so I had some more hacking to do.
Enter, the godsend. This man really provided a single docker image which, given the ip of your (samsung) tv, does the entire build and installation process! Amazing.
I had one significant roadblock here, which was that I needed to increase the number of files allowed to spawn from my docker container, by running a slightly different version of the supplied command:
docker run --rm --ulimit nofile=<bigint>:<bigint> georift/install-jellyfin-tizen <samsung tv ip>
Setting bigint to bigger and bigger values until it worked. I can’t remember what I used at this time. Good luck.
4. Next Steps
Enjoy yourself a little bit. You deserve it. To improve this setup, the two places I’d suggest are:
- Add a pihole into the mix. In addition to blocking ads for your whole network, you can assign local hostnames to ip addresses. For example, I have my server setup to be at home.server on the local network.
- Along the same lines, a small quality of life fix could be to create a reverse proxy, which you could use to point addresses like jellyfin.server to your jellyfin service, instead of having to remember ports and ip addresses.
- If you feel brave, look into seting up a VPN à la wireguard, which will give you access to all your media from outside the local network.
Above all, I hope you enjoy the fruits of your labour.